Step 1: Add the hostname to csf.dyndns
- Log in to DirectAdmin at the Admin Level.
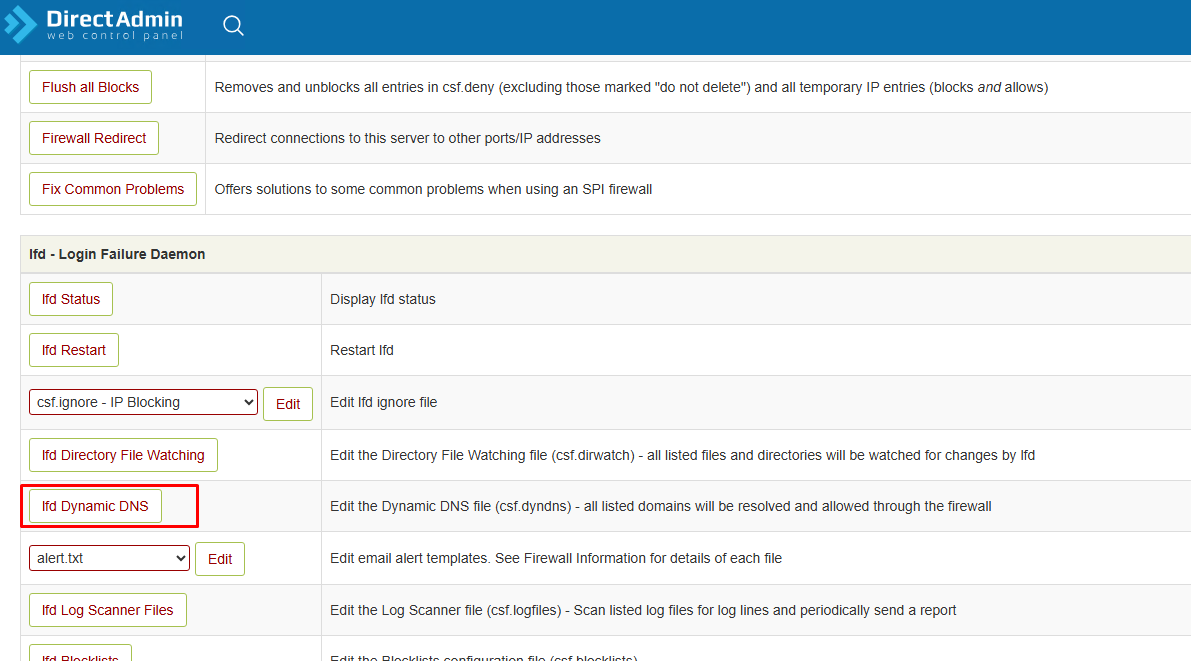
- Navigate to Extra Features and select ConfigServer Security & Firewall.
- Locate the lfd – Login Failure Daemon section and click the lfd Dynamic DNS button.
Εκεί επεξεργάζεσαι το αρχείο /etc/csf/csf.dyndns.
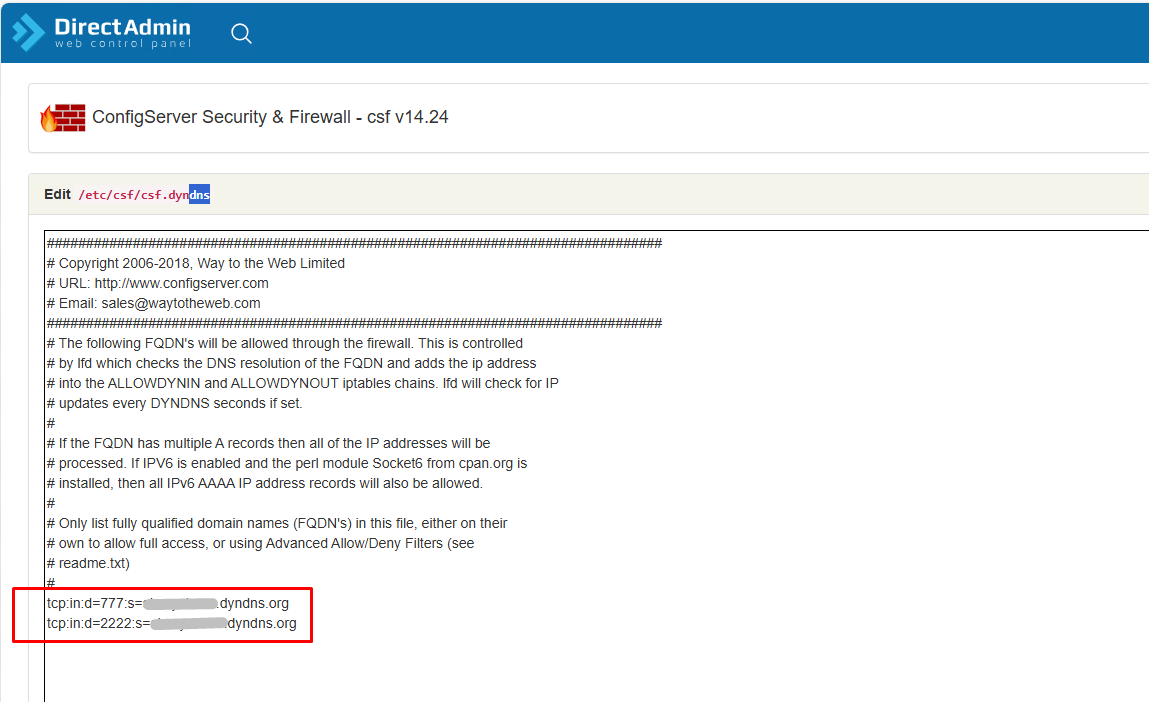
You will now be editing the /etc/csf/csf.dyndns file.
- Add your specific rules using the following format:
- tcp|in|d=2222|s=your-hostname.dyndns.org
- tcp|in|d=777|s=your-hostname.dyndns.org
Click Change and then Return.
Step 2: Enable DYNDNS Settings
- Go back to the main CSF menu and click Firewall Configuration.
- Search for the following settings and ensure they are configured correctly:
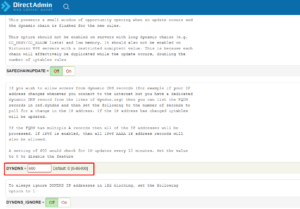
- DYNDNS: Set this to 600 (this performs a resolve every 10 minutes). You can set it to 300 for 5-minute intervals if preferred.
- DYNDNS_IGNORE: Ensure this is set to 0 or Off.
- Scroll to the bottom and click Change, then click Restart csf+lfd.
Step 3: Open the Ports in the Firewall
- Return to Firewall Configuration.
- Find the TCP_IN field (Incoming TCP ports).
- Add the ports you wish to use (e.g., 2222 for DirectAdmin, 777, etc.) to the existing list:
- TCP_IN = 22,25,53,80,110,143,443,2222,777
- Click Change and then Restart csf+lfd.